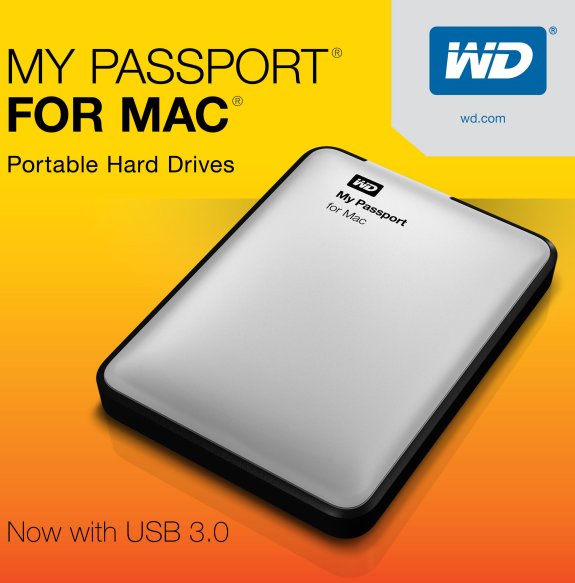
My Passport For My Mac
Got a new WD My Passport drive? Not sure how to set it up on your Mac or maybe you are thinking about buying one and want to know whether it would work on your Mac. The answer is yes! Don’t worry in 10 quick steps I’ll tell you how to format WD My Passport for Mac. One of the first things to note is that there are two main versions available of this external hard drive.
The first is preformatted and is called simply WD My Passport. Incidentally it is the cheaper version to buy. NTFS as a disk format (also referred to as a file system) is designed to plug into a Windows PC.
NTFS version The drive in this format is readable by a Mac but cannot be written to by a Mac. But don’t worry this default file system is easy to change with a little bit of know how, a few clicks of your mouse and of course this article. The second version the WD My Passport comes in is a ‘for Mac’ version. This means it is preformatted at the factory to HFS (Hierarchical File System) version It is worth bearing in mind that HFS and Mac OS Extended (Journaled) file system are one and the same. It is just that Mac OS Extended (Journaled) file system is how the file system is referred to on the Mac within its menus. It is designed to be ‘plug and play’.
Plug into your Mac and just use the disk. You do pay extra for this preformatting and in my experience I have occasionally found that you end up reformatting anyway because – Well a Mac is just a Mac and sometimes they just want the disks on them they have formatted themselves You need to format the NTFS version of WD My Passport for a Mac and the second you ‘may’ need to format depending on how your Mac feels, so why not save yourself some dollars and go for the cheaper NTFS formatted version? Table of Contents • • • • • • • • What do you plan to use the WD My Passport Drive For? It is worth taking a few minutes before you go ahead and format your shiny new drive, thinking about your planned use. For example are you thinking of • Storage of files • Using the drive as your Time Machine backup disk? Best wireless backlit keyboard for pc and mac windows 10. • Do you plan to share files and inter connect Mac and a PC?
Storage of files You can drag and drop, copy and paste files from your hard disk to your WD My Passport Drive. Remember though if your intension is to free up space on your Mac and the only copy of your files now live on the My Passport drive what will you do if something happens to that drive? You still should have a backup so seriously think about getting a second external hard drive to keep extra copies on. Just in case.
2 thoughts on “ My Passport for Mac External Hard Drive ” delores August 20, 2013 at 9:50 am. Natalie is looking for a new Hard Drive. 2TB is what she has been talking about. I will let her know that you really like this one.
My Passport as a Mac Time Machine Backup Drive Using your WD My Passport for Time Machine is perfectly fine. Format it correctly.
Then tell Time Machine on your Mac to use the drive to back up to. You will need the whole hard drive or a partition of the hard drive allocated to Time Machine. Drives can be split up into different sections – like sharing candy where you give each piece to a particular person. Hard drives can be virtually split up and each section can be given over to do a particular job. The hard drive or partition given over to Time Machine must be at least as big as the amount of data you are using or backing up on your hard drive.
Ideally twice as big to give you room to grow into. Or you can take the total amount of internal disk you have let us say you have a 500 GB internal drive and get a WD My Passport twice as big.
A 1 TB drive or a 1 TB partition allocated to Time Machine. WD My Passport Compatible with Mac and PC? This requirement will be in addition to what you’re going to need for Time Machine and you will need additional hard drive space for that.