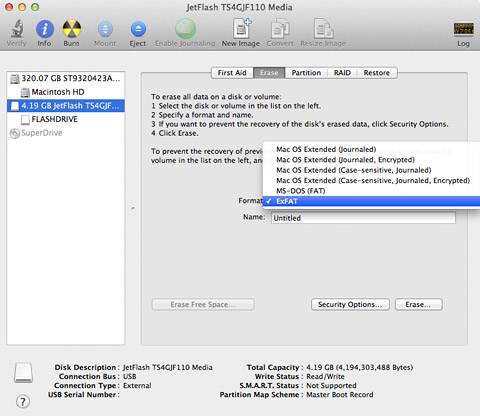
How To Put Things On Passport For Mac
Reader Terry Bone is bone-tired of entering her password when attempting to move a file to her hard drive. She writes: I just got a new MacBook Pro with Mavericks and noticed that now if I want to drag a file onto the hard drive I have to type my password and type it again if I want to remove it. I do this frequently in order to make files available to transfer online to a PC.
When I drag the file over the passport icon it has that stop symbol, the one that's a circle with a slash through it. I don't know how to add files from my school Mac and that was the purpose of buying this device. I don't know if it's just the school pretty much restricting us from doing things on these laptops or I'm missing a step.
Is there a way to turn that off so I can transfer files in and out of the hard drive without the additional step of entering a password? First, some background. With Mac OS X 10.8 (Mountain Lion) and later, Apple made the startup drive system-owned.
You can see this in action by selecting your startup drive in the Finder, pressing Command-I, and then gandering down at the bottom of the resulting Info window (in the Sharing & Permissions area). You’ll see that the first entry is system followed by wheel and then everyone. System has Read & Write permissions while wheel and everyone are marked Read Only. Navigate to the Documents folder inside your user folder, perform this same Command-I trick, and your name will appear as the top entry in this area and you’ll have Read & Write permissions. The upshot of this is that when you drag a file on top of your startup drive’s icon, you’ll be asked to authenticate this action with your username and password.
And you will be because you’re you and not system. Add yourself as a user and give that user Read & Write permissions. Fortunately, there are a couple of things you can do about this. The first is that you can muscle your way past this restriction by selecting your hard drive, pressing Command-I, and clicking on the Lock icon and entering your password when it’s demanded. Then click on the small Plus (+) button in the bottom left corner of the Info window and in the sheet that appears, click on your user name, and click the Select button. A new entry that bears your user name will appear in the Sharing & Permissions area. Click on Read Only and change it to Read & Write.
Translate a powerpoint for mac presentation from english to french language. Today I received a truly sick comment, which I am quoting below in it entirety, without revealing the author: ============== Asking for a contribution is a fair point, but how do I know that you havn't had a 100 people like me asking and you charge them $25 x 100 = $2500 Happy to pay $10 to save me the hassle of compiling the code through Paypal. Somehow, three or four people who contacted me became offended when I suggested a $25, which is 1/3 of what I paid.
You will now be able to drag items to the hard drive without having your ID checked at the door. Alternatively, instead of adding a new user you can select the everyone entry and change its permissions to Read & Write.