How To Make A Quick Graph In Excel For Mac
Insert the chart Select the Insert tab at the top of the window. Select chart. Select the type of chart you want to make Choose the chart type that will best display your data. Check your chart Click and hold the Press and Hold to View Sample button to see what your chart looks like. How to Make a Line Graph in Microsoft Excel. This wikiHow teaches you how to create a line graph from Microsoft Excel data. You can do this on both Windows and Mac.
Excel is a powerful tool that you can use to create charts and graphs for small or large amounts of data. In this Excel tutorial, I’ll show you how to take a small set of data and create a simple bar graph, along with the options you have to customize the graph. Once you have the basics down, you can use those same techniques on larger sets of data.
First off, I’ve created a set of student test data for our example. There are eight students with their test scores on four exams. To make this into a chart, you first want to select the entire range of data, including the titles (Test 1, etc). Now that your data is selected as shown above, go ahead and click on the Insert tab on the ribbon interface. A little to the right, you’ll see the Charts section as shown below.
By default, it tries to list out the most common types of charts such as Column, Line, Pie, Bar, Area, and Scatter. If you want a different type of chart, just click on Other Charts. For our example, we will try use a column chart to visualize the data. Click on Column and then select the type of chart you would like. There are many options!
Also, don’t worry because if you pick a chart you don’t like, you can easily change to another chart type with just a click of your mouse. So now Excel will create the chart based on the data and dump it somewhere on your sheet. You have created your first graph/chart in Excel and it literally takes just a few minutes.
Ie emulator for mac and chrome. Virtual Browser for Chrome!(works on Mac/ChromeBook/Linux; Runs Internet Explorer (IE6 - IE11) / Java / Silverlight / ActiveX) Cloud Browser offered by ieonchrome.com. Virtual IE with java for chromebook/MAC/PC. At the moment, there is no way to install Chrome on an Android emulator. However, you can use the Android Browser, the Chromium Content Shell and Firefox for Android which we'll cover later in this guide. Chromium Content Shell uses the same Chrome rendering engine, but comes without any of the browser specific features. Display web pages using IE within Chrome. Use Java, Silverlight, ActiveX, Sharepoint, and more. A 'Top 10' extension since 2009! Google Chrome Emulator Google Chrome is a Google’s web browser which utilizes application framework and WebKit layout engine. It was first launched on 2nd September 2008 as a beta version for Microsoft Windows and on 11 December 2008 as a public stable release.
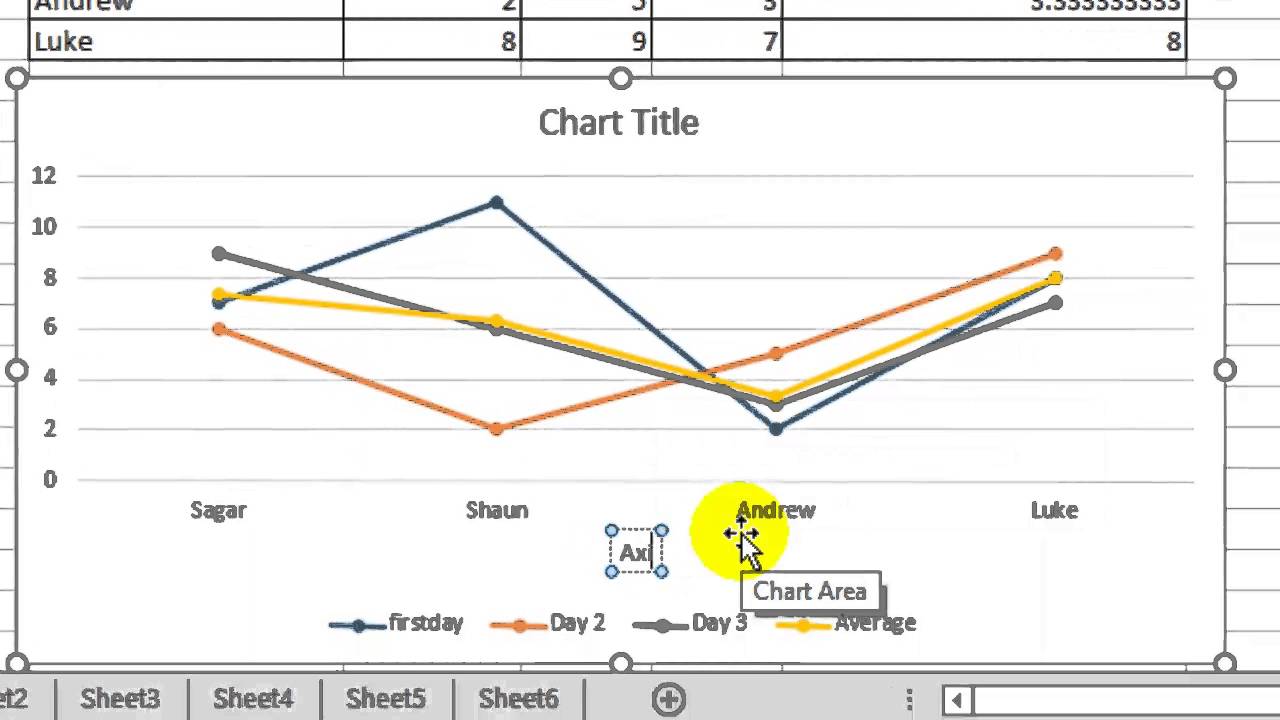
Creating a chart is easy, but what you can do with your chart after making it is what makes Excel such a great tool. In the above example, I see each person along the X axis and the test scores on the Y axis.
Each student has four bars for their respective test scores. That’s great, but what if I wanted to visualize the data in a different way? Well, by default, once the chart is added, you’ll see a new section at the top of the ribbon called Chart Tools with three tabs: Design, Layout and Format. Here you can change everything under the sun when it comes to your new chart.
One neat thing you can do is click on Switch Row/Column under Data and the chart will instantly change with the data switched. Now here’s what the chart looks like with the same data, but with X and Y switched. This chart is useful too because now I can see the scores for all the students per exam. It’s very easy to pick out who did the best and who did the worst on each test when the data is displayed like this. Now let’s make our chart a little nicer by adding some titles, etc. An easy way to do this is to click on the little down arrow with a line on top of it under Chart Layouts. Here you’ll see a bunch of different ways we can change the layout.

If you pick the one shown above, you chart will now look like this with the additional axis titles added for you. Feel free to choose other layouts just to see how the chart changes. You can always change the layout and it won’t mess up the chart in any way. Now just double-click on the text boxes and you can give the X and Y axis a title along with giving the chart a title also. Next let’s move on to the Layout tab under Charts Tools.
This is a very important tab because you can tweak pretty much every little detail about your chart here. The best part I like is right on the left part of the ribbon called Current Selection.